Equipment
 Method 9 does not contain any special requirements or specifications for equipment or supplies. However, certain equipment is necessary to conduct a valid observation that will withstand the rigors of litigation. Experience gained from litigation has shown that accurate, high-quality equipment is essential for valid observations. As a result, we recommend you use the best equipment available to you in order to collect the highest quality data possible. Other equipment, though optional, can make the collection of high-quality data easier. This section gives specifications, criteria, or the design features for the recommended basic VE equipment as well as optional equipment that can simplify data collection. It is imperative that you follow the manufacturer’s specific calibration and maintenance procedures to properly maintain and use your equipment. In court you must be able to provide accurate data concerning observation conditions and geometric measurements relative to your position.
Clipboard and Accessories
You should have a clipboard, several ballpoint pens, large rubber bands, and a sufficient number of VE Observation Forms to document any expected or unexpected observations. Ballpoint pens are used so that completed forms can be copied and remain legible despite numerous reproductions. Rubber bands hold the data form flat on the clipboard under windy conditions and hold other papers and blank forms on the back of the clipboard. Use observation forms that meet EPA Method 9 requirements. A sample form that has been extensively field tested is provided in the appendix.
Timer
During a VE observation, it is necessary to time the 15-second intervals between opacity readings. Use a watch or dedicated timer. The best practice is to attach two dedicated timers to your clipboard. Liquid crystal display timers are preferred because of their accuracy and readability. Use one timer to determine the start and stop times of the observation and the other timer to provide a continuous display of time to the nearest second. Most stick-on timers run from one to 60 seconds repeatedly. A timer with a beeper that sounds every 15 seconds is recommended for use in some industrial locations, enabling you to pay attention to your surroundings and your safety.
Topographic Maps
The United States Geological Survey (USGS) 7.5-minute topological maps are a practical necessity for serious opacity work. From these maps you can determine your exact location, true north, distances, access roads, latitude, longitude, magnetic declination, relative ground height, and background features. You also can use these maps to calibrate rangefinders. If you are planning an inspection, photocopy the section of the map that shows the facility on the back of your observation form. Laminate the full-sized map for field use and to allow temporary marking with dry erasable pens.
Compass
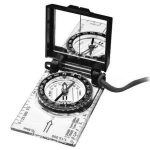 A compass is needed to determine the direction to the emission point, the observation point, and to determine the wind direction at the source. Select a compass that you can read to the nearest 2 degrees. The compass should be jewel-mounted and liquid-filled to dampen the needle’s movement. Map-reading compasses are excellent for this purpose. If you wish to take the magnetic declination for your area into account when you take readings, you should consider investing in a compass that allows you to adjust the declination.
Global Positioning Systems (GPS)
GPS units can be purchased for less than $50.
Defining your exact position within 10 meters in terms of latitude and longitude is valuable information for an observer. It helps in determining proper sun position. A GPS is a hand-held unit that works by receiving signals from satellites orbiting the earth. A GPS unit can be purchased for less than $50.
Rangefinder
 If a topographic map of the area is not available, you will need a rangefinder. Even with a map, a rangefinder is very useful in field work. The two types in general use are the split-image and the stadiometric rangefinders. However, laser units are also widely available. The split-image type uses the technique of superimposing one image over another to determine the distance. The most useful models for opacity work have a maximum range of about 1000 yards. To use the stadiometric rangefinder, you must know the height or width of an object at the same distance as the object of interest.
Rangefinders should be accurate to within 10% of the measurement distance.
Stadiometric rangefinders are lighter and more compact than split-image rangefinders. Split-image rangefinders, although inherently more accurate, are more likely to become uncalibrated when bumped during transport. The accuracy of either type of rangefinder should be checked on receipt and periodically thereafter with targets at known distances of approximately 500 meters and 1000 meters. An acceptable rangefinder must be accurate to within 10% of the measurement distance.
Abney Level or Clinometer
Abney levels are accurate to within 1-2 degrees.
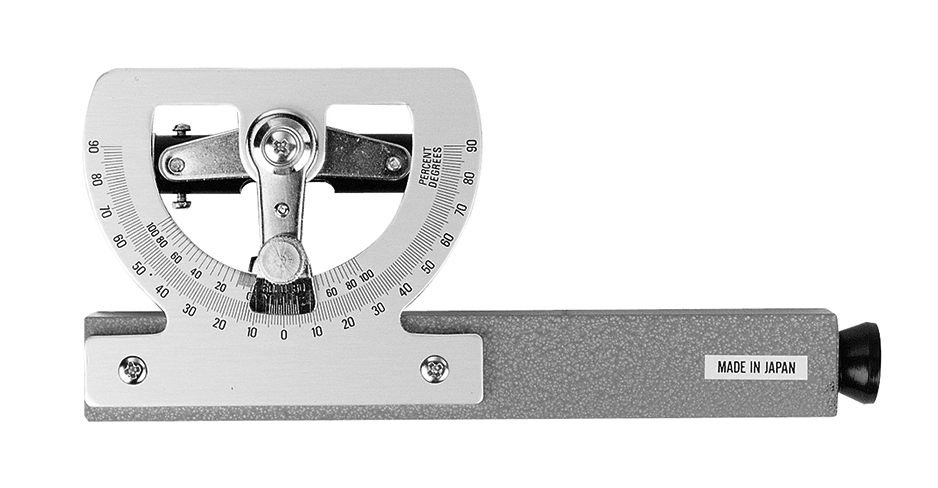 You will need a clinometric device for determining the vertical viewing angle (see Chapter 9-Figure 2). For visible emissions observation purposes, it should be accurate to within 2 degrees. Many suitable devices are available in a wide range of prices, including Abney levels, pendulum clinometers, and sextants. Abney levels use a bubble in a curved tube to determine the angle with an accuracy of 1-2 degrees. The accuracy can be tested by placing the level flat on a table that has been previously leveled with a reference level. It should read 0 degrees. Then check it at 45 degrees by placing it on a 45-degree inclined plane constructed with the plane as the hypotenuse of a right triangle with equal base and height. The pendulum clinometer is the cheapest and has an accuracy of about 2 degrees when used properly. It consists of a protractor and a plum bob. Some compasses include a pendulum-type clinometer. A sextant is very accurate if you know the position of the horizon, but it is very expensive. You should NEVER look directly at the sun through a clinometric device.
Sundog
Field confirmation of a correct position of the observer in relation to the sun and observation point in the plume is almost impossible without the right equipment. Prior to observations, the observer can run computer simulations of the Sun Observer Source (SOS) angle to assure that the SOS is at least 110 degrees (EPA requirement). A Sundog is an observational tool that allows the observer to confirm an acceptable sun angle in the field. The observer rotates the device until it is on a plane with three points (sun, observer’s position, source). Once the device is held in the plane, the observer looks toward the source through a slit and notes the position of a projected dot from the sun on a surface within the Sundog. If the dot is projected on the green surface, the sun angle is acceptable. Otherwise it is not. Proper use of a Sundog prevents observations from being voided after the fact.
Binoculars
 Binoculars are helpful for identifying stacks, searching the area for emissions, interferences, and helping to characterize the behavior and composition of the plume. Binoculars are designated by two numbers such a 7 x 35. The first number is the magnification and the second is the field of view. Select binoculars with a magnification of at least 8 or 10 (8 x 50 and 10 x 50 are standard designations). The binoculars should have color-corrected coated lenses and a rectilinear field of view. Check the color correction by viewing a black and white pattern such as a Ringelmann card at a distance greater than 50 feet. You should see only black and white; no color rings or bands should be evident. Test for rectilinear field of view by viewing a brick wall at a distance greater than 50 feet. There should be no pin cushion or barrel distortion of the brick pattern. Plume observations for compliance purposes should not be made through binoculars unless you are certified with binoculars.
Sling Psychrometer
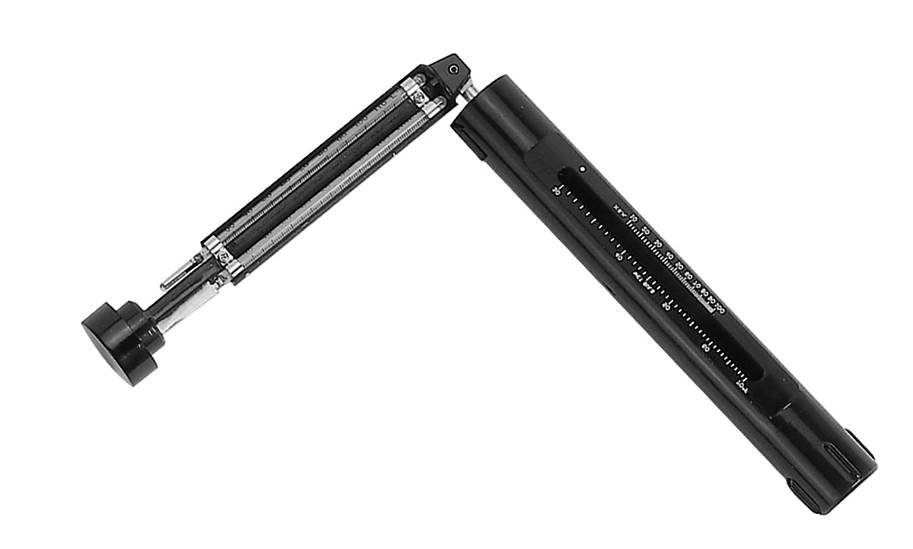 If there is a potential for the formation of a condensed water droplet (steam) plume, you will need a sling psychrometer to determine the temperature and relative humidity of the ambient air. The sling psychrometer consists of two thermometers, accurate to +/- 0.5˚ C, mounted on a sturdy assembly with a swivel attachment to a chain, strap, or handle. One thermometer has a cotton wick tube surrounding the bulb. Thermometer accuracy should be checked by placing the bulbs in a deionized ice water bath at 0˚ C. Electronic models are simpler to use but require tedious periodic calibration using standard salt solutions. The manufacturer’s calibration procedures should be explicitly followed.
Sling psychrometers are used to determine the temperature and relative humidity.
Photo/Video Documentation
Use a camera to document the presence of emissions before, during, and after the actual opacity determination and to document the presence or lack of interferences. Digital images can document the specific stack that is under observation but do not document the exact opacity. Digital images can be useful to document field conditions, observer position, background, and sun location (by shadows).
Digital cameras can be very useful in documenting the appearance and location of emissions. The ease with which digital images can be manipulated does, however, limit their usefulness for opacity evaluation. When taking still pictures and shooting video, a tripod will improve the quality of the image.
Equipment Selection
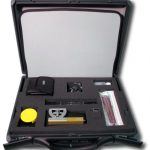 We recommend you use the best equipment available to you to collect the highest quality data possible. ETA has developed Visible Emissions Observer Field Test Kits for our staff to ensure observations are properly documented. These kits are available for purchase by the public. All items in the kits are commercially available. We have simply organized them into a convenient package.
Contact Us for Opacity Testing Equipment and Kits
For more information regarding visible emissions support products, or information on how to order, call us today at 919-878-3188 or email us
